Chocolate Ice Cream

Indulging in a bowl of homemade chocolate ice cream is like feeling a burst of happiness on a hot summer day. Rich, creamy, and decadently chocolatey, this classic treat takes you straight back to childhood memories of ice cream trucks and backyard barbecues. With just the right amount of sweetness and a velvety texture, it’s the kind of dessert that makes any occasion feel special. And the best part? Making your own chocolate ice cream is surprisingly simple and way more satisfying than anything you can scoop from a store-bought tub.
Table of Contents
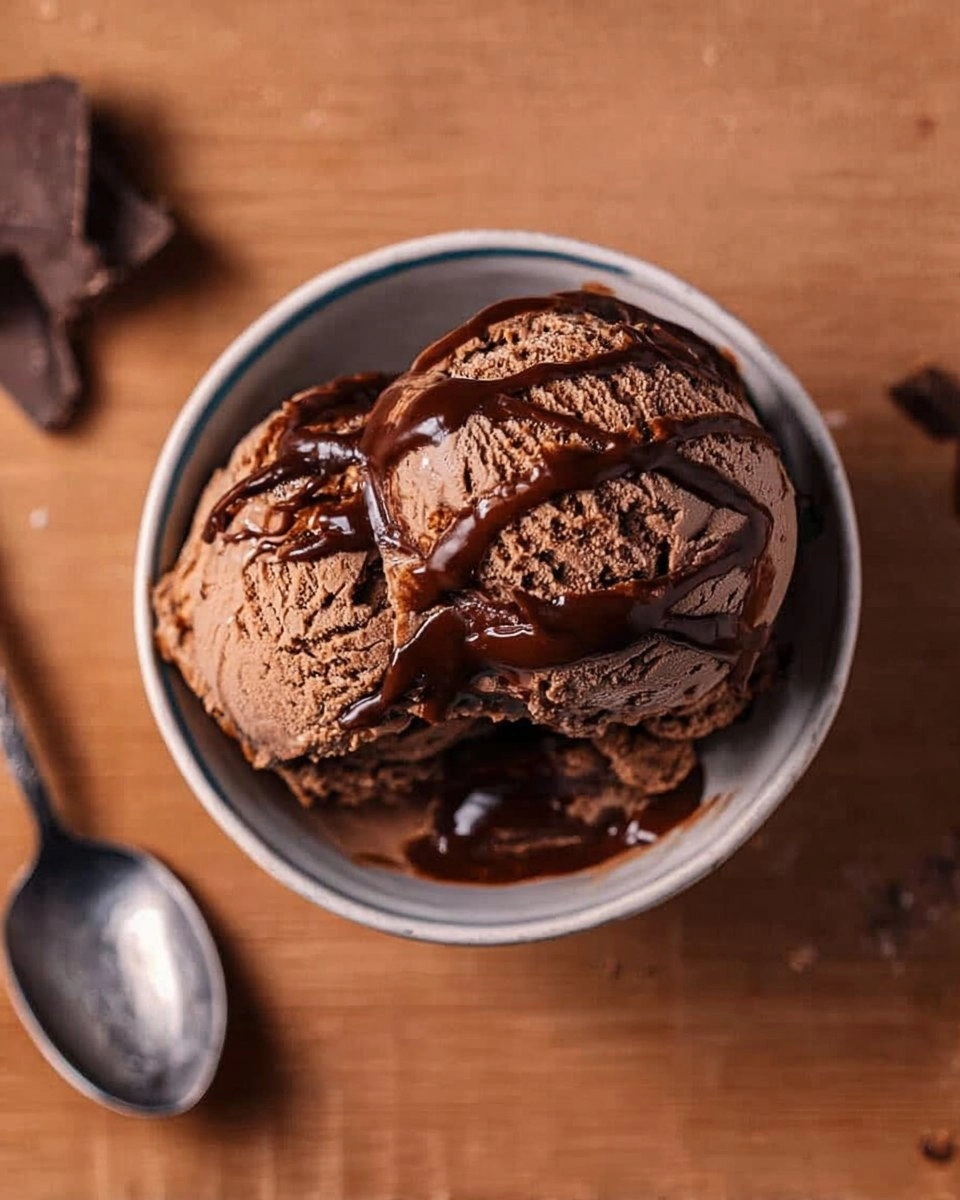
I still remember the first time I made chocolate ice cream—standing in my kitchen, the smell of chocolate wafting through the air, and the joy of watching it churn into a creamy masterpiece. There’s something simply magical about creating this dessert from scratch, allowing you to customize it just the way you like. So gather your ingredients and let’s whip up this delightful treat together! Trust me; one scoop will have you coming back for more.
Why You’ll Love This Recipe
- Simple & Quick: You can enjoy homemade chocolate ice cream in just a few hours, with minimal hands-on time.
- Irresistible Flavor: The combination of rich chocolate and creamy dairy creates an unforgettable taste that’s better than store-bought.
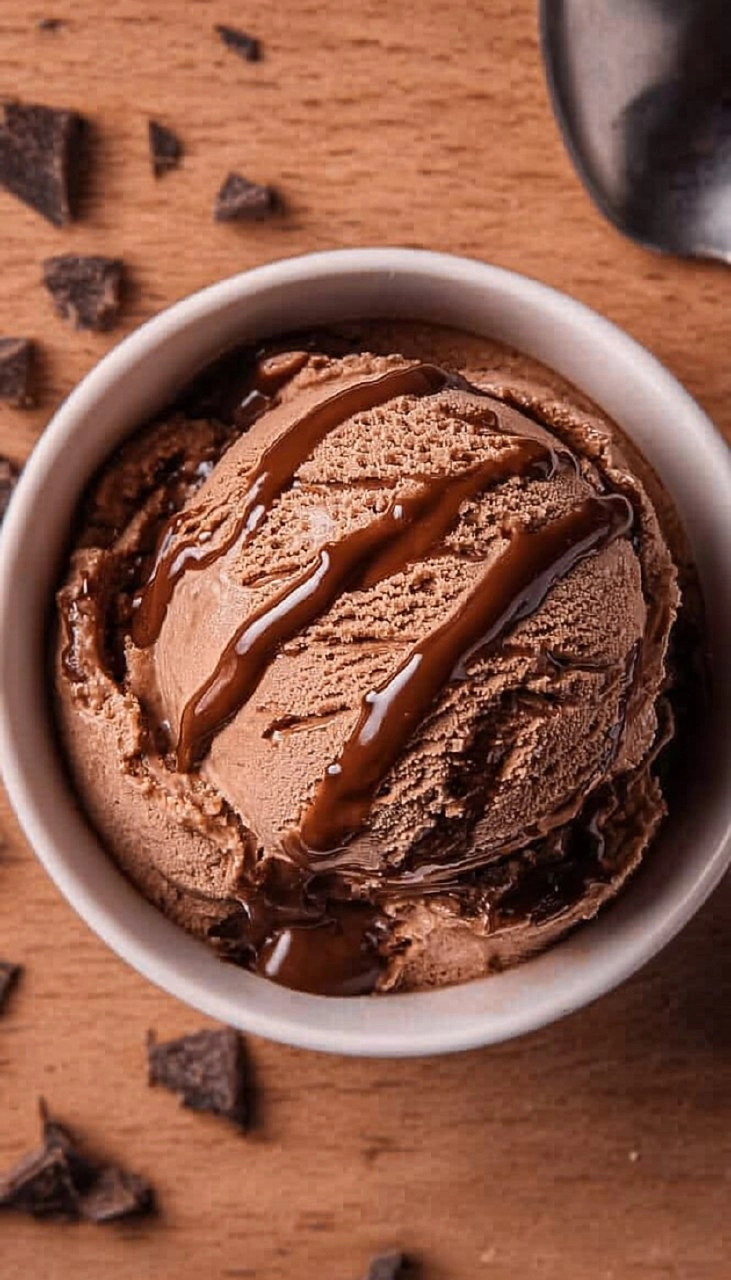
- Eye-Catching Appeal: Swirling in hot fudge gives it a stunning look, perfect for impressing guests.
- Flexible Serving: Whether it’s a sunny afternoon snack or a dessert at dinner, it fits every occasion beautifully.
- Diet-Friendly Options: Easily adjust the ingredients for different dietary needs, like gluten-free or dairy-free alternatives.
Ingredients You’ll Need
- 1½ cups heavy cream: The key to ultra-creamy ice cream. Don’t substitute with lower-fat options for the best results.
- 1½ cups whole milk: Whole milk balances the richness of the cream while keeping the texture smooth. Skim milk can be used but will result in a less creamy outcome.
- ½ cup granulated sugar: Sweetens the mixture without overpowering the chocolate flavor. Feel free to experiment with coconut sugar for a different twist.
- 3 tablespoons cocoa powder: Fortifies the chocolate flavor. Use high-quality cocoa powder for the best depth.
- 2 tablespoons light corn syrup: This is optional but helps improve texture and prevents ice crystals from forming.
- 1/4 teaspoon fine sea salt: Enhances all the flavors without making it taste salty.
- 4 large egg yolks: Adds richness and contributes to the creamy texture. Make sure they’re fresh!
- 1 tablespoon vanilla extract: Provides a warm, aromatic undertone to the chocolate. Opt for pure vanilla extract over imitation.
- 4 oz dark chocolate, chopped: Enhances the chocolate flavor immensely. You can substitute high-quality chocolate chips if you prefer.
- ½ cup hot fudge sauce, optional: For an extra indulgent touch, a swirl of hot fudge makes every scoop even better!
How to Make Chocolate Ice Cream Recipe
- Heat Dairy: In a medium saucepan, combine 1½ cups heavy cream, 1½ cups whole milk, ½ cup granulated sugar, 3 tablespoons cocoa powder, 2 tablespoons corn syrup, and 1/4 teaspoon fine sea salt. Heat over medium, stirring occasionally, until steaming but not boiling—this is where the magic starts!
- Whisk Yolks: In a separate bowl, beat 4 large egg yolks until smooth. This step is crucial for creating that luscious texture.
- Melt Chocolate: In another small bowl, add 4 ounces of chopped dark chocolate. Pour in one big ladleful of the hot milk mixture over the chocolate and set aside to melt.
- Temper Eggs: Gradually drizzle a ladleful of the hot milk mixture into the yolks, whisking constantly to avoid scrambling. Repeat several times with more hot cream, then pour the tempered yolk mixture back into the saucepan. Stir over medium heat for another 30 seconds or until it thickens slightly, reaching between 170-175 degrees F. Remember, no boiling here!
- Combine: Remove from heat and stir in the melted chocolate and 1 tablespoon of vanilla extract. Once combined, strain the mixture through a fine-mesh sieve into a clean container. This step ensures a silky texture by removing any bits of cooked egg.
- Chill Mixture: Cover and chill in the refrigerator for at least 4 hours; overnight is even better. This resting period allows the flavors to meld beautifully.
- Churn Ice Cream: Once chilled, churn the mixture in your ice cream maker according to the manufacturer’s instructions. Be prepared to taste the goodness!
- Fudge Swirl and Freeze: Transfer half of the mixture to an ice cream container. Spoon 3 tablespoons of warmed hot fudge sauce over the top, then use a knife to gently swirl it in. Add the remaining ice cream on top, and drizzle another layer of fudge sauce. Freeze for at least 4 hours until firm and scoopable.
- Serve: Scoop into bowls or homemade waffle cones—because who doesn’t love a cone? Enjoy the satisfaction of your homemade chocolate ice cream!
Storing & Reheating
Homemade chocolate ice cream can be stored in an airtight container in the freezer for up to 3 months. For short-term storage, cover it directly with plastic wrap and then seal it with a lid. Softening the ice cream at room temperature for about 10 minutes before serving helps restore its creamy texture. Keep in mind that flavors deepen over time, making every scoop even more delightful as it ages.
Chef’s Helpful Tips
- Be cautious not to overheat the egg yolk mixture; keep stirring and remove from heat as soon as it thickens.
- Using a fine-mesh sieve when straining ensures your ice cream will be extra smooth.
- For the best flavor, let your chocolate ice cream rest in the freezer overnight to develop its full potential.
- If you want to switch things up, consider adding mix-ins like nuts, chocolate chips, or even fresh fruit before the ice cream sets completely.
- Have fun with toppings—try sprinkles, whipped cream, or extra fudge for a decadent touch!
Finally, let this be your sweet escape! Making chocolate ice cream at home isn’t just about the end product; it’s about the joy of creating something special. Each step offers an opportunity to savor the experience, and the finished result is pure happiness in a bowl.
Recipe FAQs
Can I make this recipe without an ice cream maker?
Absolutely! If you don’t have an ice cream maker, pour the chilled mixture into a shallow dish and freeze it. Stir every 30 minutes for the first 2-3 hours to break up ice crystals until it’s evenly frozen and smooth.
What can I use instead of heavy cream?
For lighter chocolate ice cream, you can substitute half-and-half for heavy cream, but the texture will be less creamy. If you’re looking for dairy-free options, coconut cream works beautifully in place of heavy cream.
How do I know when my chocolate ice cream is ready to serve?
When the ice cream is firm but scoopable, it’s ready! If it feels too hard straight from the freezer, let it sit at room temperature for about 10 minutes before serving for the perfect consistency.
Can I customize this chocolate ice cream with mix-ins?
Definitely! Stir in your favorite mix-ins like chocolate chips, cookie crumbles, or nuts during the last few minutes of churning. Just remember not to overload the mix to maintain that smooth creaminess!
PrintMore Desserts & Appetizers Recipes
- Limoncello Mascarpone Cake
- Easter Nest Cupcakes | Vanilla Sponge with Chocolate Buttercream & Mini Eggs
- Death By Chocolate Cake
- Blackberry Cheesecake Cottage Cheese Ice Cream
- Strawberry Shortcake Cookies
Did You Enjoy Making This Recipe? Please rate this recipe with ⭐⭐⭐⭐⭐ or leave a comment.
📖 Recipe Card
Chocolate Ice Cream
- Prep Time: 30 minutes
- Cook Time: 10 minutes
- Total Time: 40 minutes
- Yield: 12 servings 1x
- Category: Desserts & Appetizers
- Method: Churning
- Cuisine: American
Description
This Chocolate Ice Cream features a rich, creamy texture with dark chocolate and hints of vanilla. It’s an easy homemade delight that’s perfect for sharing or enjoying solo!
Ingredients
- 1½ cups heavy cream
- 1½ cups whole milk
- ½ cup granulated sugar
- 3 tablespoons cocoa powder
- 2 tablespoons light corn syrup
- 1/4 teaspoon fine sea salt
- 4 large egg yolks
- 1 tablespoon vanilla extract
- 4 oz dark chocolate, chopped
- ½ cup hot fudge sauce
Instructions
- In a medium saucepan, mix the cream, milk, sugar, cocoa powder, corn syrup, and salt. Heat over medium until steaming, but not boiling.
- In a separate bowl, whisk the egg yolks until smooth.
- In another bowl, place the chopped chocolate. Pour a ladleful of hot milk over chocolate and let it melt.
- Gradually add hot milk mixture to the yolks while whisking. Repeat until the yolk mixture is warm enough. Pour back into the saucepan and cook until slightly thickened, ensuring it doesn't boil.
- Mix in the melted chocolate and vanilla extract, then strain through a fine mesh sieve into another container.
- Refrigerate the mixture for at least 4 hours or overnight.
- Churn in an ice cream maker according to manufacturer's directions.
- Pour half the mixture into an ice cream container, layer with warmed fudge sauce, and swirl. Add remaining mixture and drizzle with fudge. Freeze for at least 4 hours until firm.
Notes
Using high-quality chocolate chips can enhance the flavor of your ice cream.
Churning in the ice cream maker is crucial for a smooth texture.
For a richer taste, let the ice cream sit out for a few minutes before serving.
Nutrition
- Serving Size: 1/2 cup
- Calories: 300
- Sugar: 22g
- Sodium: 50mg
- Fat: 20g
- Saturated Fat: 10g
- Unsaturated Fat: 9g
- Trans Fat: 0g
- Carbohydrates: 29g
- Fiber: 1g
- Protein: 4g
- Cholesterol: 130mg