Carmelitas

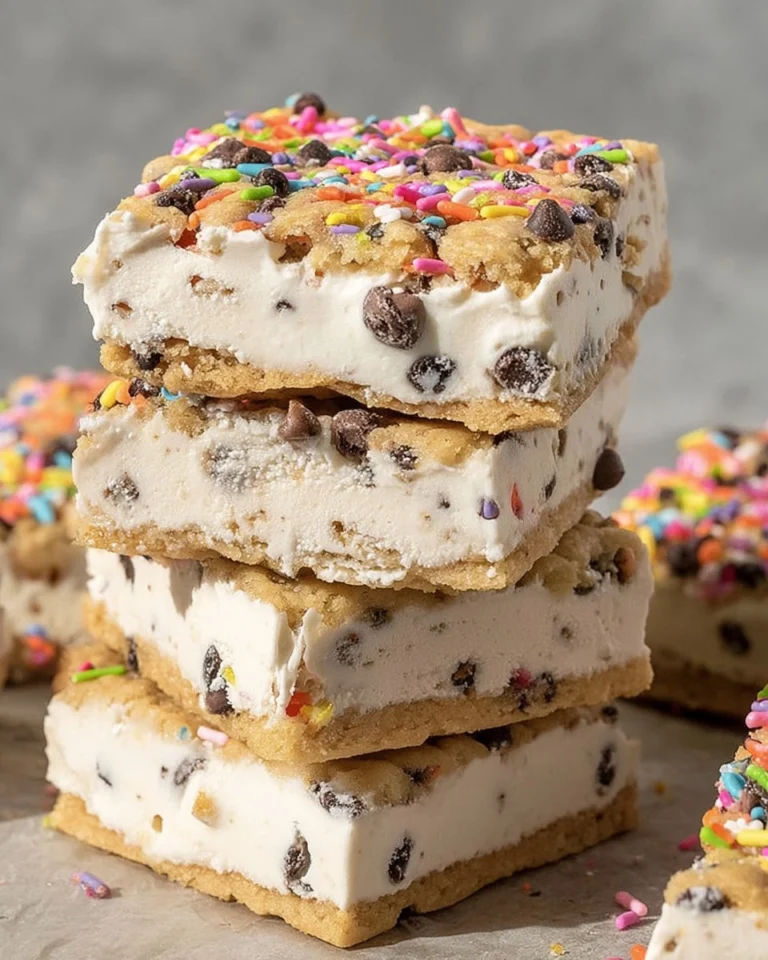
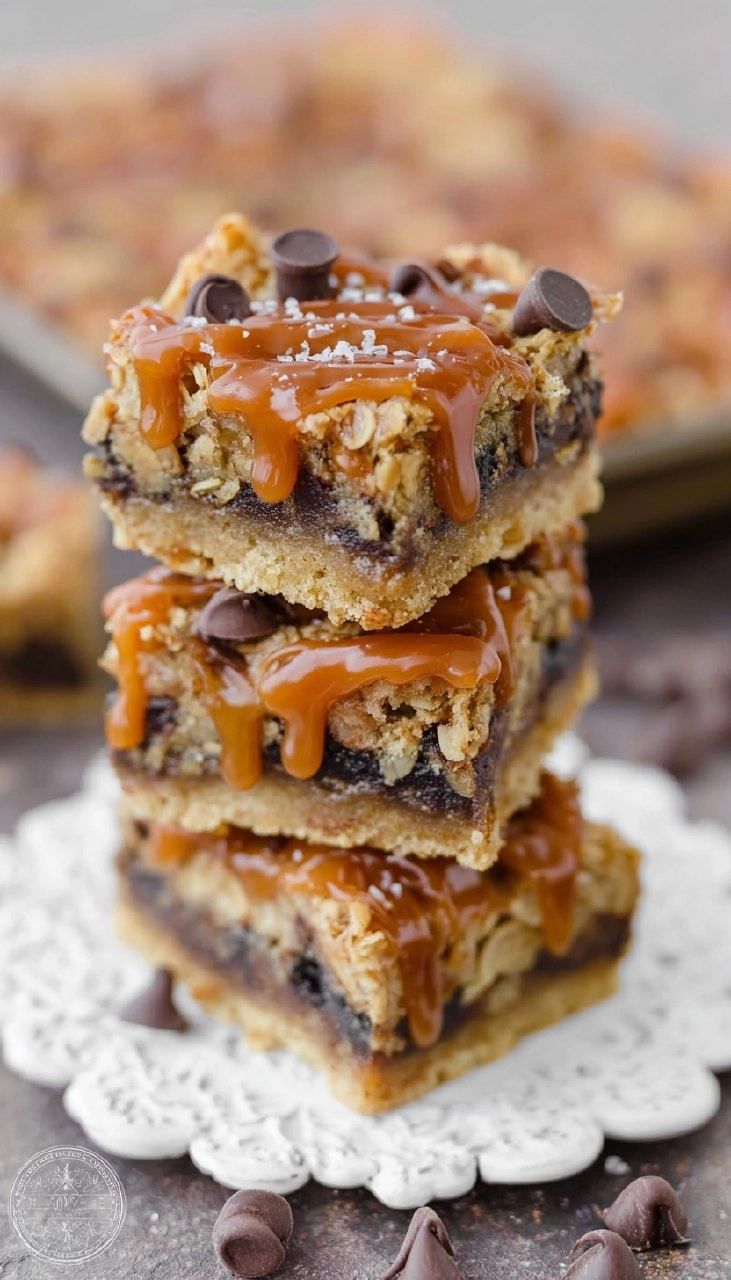
Carmelitas are the ultimate dessert for anyone who loves a great combination of textures and flavors. Imagine a rich, chewy layer of chocolate-chip-cookie goodness, with a move over-the-top twist of gooey caramel. Each bite is a heavenly creation, bringing together sweet chocolate and luscious melted caramel in an unforgettable way. They are everything you want in a dessert—sweet, satisfying, and a little too easy to eat!
Table of Contents
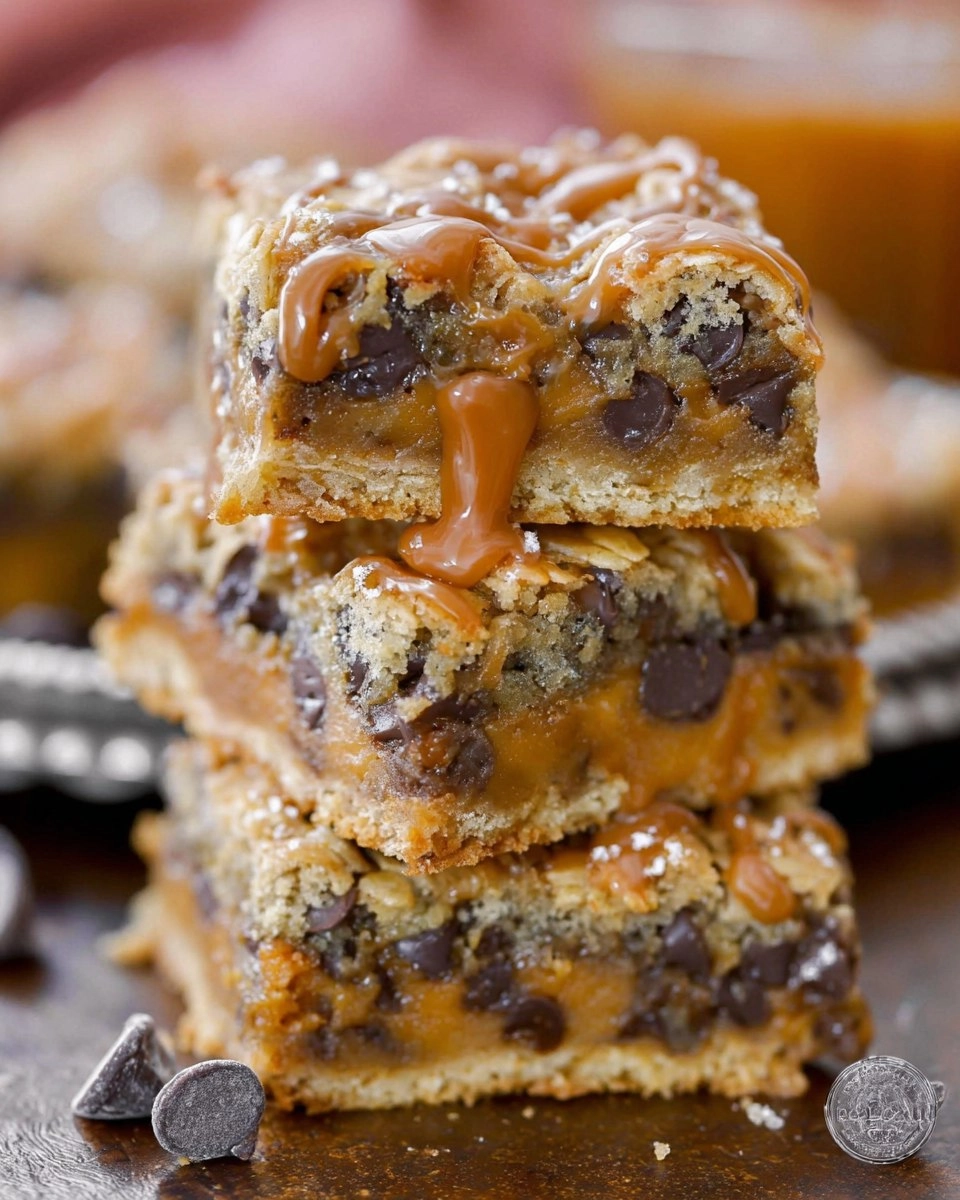
I discovered caramelitas during a laid-back afternoon while searching for something sweet to whip up with the kids. The recipe was simple enough for their little hands to help, but the results were nothing short of spectacular. Their eyes lit up as they enjoyed the warm, melty bites straight from the oven, and I knew I had stumbled upon a family favorite. You will want to make these delicious treats, too, especially when you realize how easily they come together and how quickly your guests will devour them!
Why You’ll Love This Recipe
- Simple & Quick: With just a few main ingredients, you can whip these up in about an hour.
- Irresistible Flavor: The combination of buttery cookie dough, gooey caramel, and rich chocolate will have everyone coming back for seconds.
- Eye-Catching Appeal: These bars are not only delicious but have a gorgeous, layered look that impresses without the hassle.
- Flexible Serving: Perfect for a midday snack, dessert at a dinner party, or even breakfast indulgence (who can resist?).
- Diet-Friendly Options: If needed, you can easily switch out certain ingredients for gluten-free or dairy-free alternatives.
Ingredients You’ll Need
- 30 ounces chocolate chip cookie dough: You can use refrigerated, store-bought dough for ease or make your own for a personal touch. If opting for homemade, ensure it’s chilled for best results.
- 11 ounces caramels: Use soft caramels or caramel pieces that melt well. If you’re in a pinch, store-bought caramel sauce can work, but the texture will differ.
- ¼ cup evaporated milk: This aids in making the caramel silky and smooth. Heavy cream can be a great substitute for that extra richness.
- 1 cup semi-sweet chocolate chips: Use quality chocolate chips for the best flavor. You can substitute them with dark chocolate for a bolder taste.
How to Make Carmelitas
- Preheat the Oven: Start by setting your oven to 350°F (175°C) so it’s hot and ready when your batter is prepared.
- Prepare the Base: Slice a little more than half of the chocolate chip cookie dough into 1/4-inch rounds, laying them in a single layer on a parchment-lined 9-inch square baking pan. Use your fingers to press the cookie dough into an even, solid layer at the bottom of the pan.
- First Bake: Place the pan in the oven for 20 to 25 minutes. Bake until the edges begin to turn golden brown, then remove and let it cool slightly—this will form your delicious cookie base.
- Melt the Caramels: In a microwave-safe bowl, combine the unwrapped caramels with the evaporated milk. Heat on high for 1 minute, then stir. Continue heating in 30-second intervals until fully melted, stirring often to achieve a smooth consistency.
- Add Chocolate Chips: Once your cookie base has cooled, sprinkle the semi-sweet chocolate chips evenly over the top, allowing their richness to permeate the dough.
- Drizzle with Caramel: Pour the melted caramel mixture over the chocolate chips. Let the caramel soak in a bit; this is where the magic truly happens.
- Crumble Remaining Dough: Take the remaining cookie dough (there should be just under half left) and crumble it over the caramel topping. Don’t worry about it being perfect—some clumps are great for texture!
- Final Bake: Place the assembled caramelitas back in the oven and bake for an additional 12 to 15 minutes. You want them to be just beginning to turn golden brown on top—this indicates they’re baked to perfection.
- Cool and Chill: Allow the pan to cool to room temperature, then refrigerate it for at least 2 hours. This helps set everything nicely and makes for easier cutting later.
- Serve: Allow the caramelitas to sit out for about 15 minutes before cutting into squares. Enjoy the fruits of your labor!
Storing & Reheating
To keep your carmelitas fresh, store them at room temperature in an airtight container for up to 3 days. For longer storage, refrigerate them for up to a week in a sealed container. If you want to freeze them, wrap each square individually in plastic wrap, then place them in a freezer-safe bag or container for up to 3 months. When you’re ready to enjoy, simply thaw at room temperature or pop them in the microwave for 10-15 seconds to refresh the gooeyness.
Chef’s Helpful Tips
- It’s important to not overbake the initial cookie base; aim for just a light golden color to keep it soft and chewy.
- Use room temperature ingredients when available to enhance mixing and melting processes.
- Remember, the melted caramel will be hot! Let your caramelitas cool thoroughly before cutting to avoid a gooey mess.
- Feel free to experiment with different types of chocolate or even add nuts for a little crunch.
- If making ahead, these keep well in the fridge but remember to let them come back to room temperature for a better texture when serving.
The best part about making carmelitas is not only how scrumptious they taste but also the joy of sharing them with family and friends. These little bars are perfect for gatherings or just a cozy night in with a cup of coffee. I encourage you to play around with the recipe—add a pinch of sea salt, try different chocolates, or mix in your favorite nuts.
With their luscious layers and sweet charm, these treats promise to be a hit every time. So gather your ingredients, roll up those sleeves, and let’s get baking!
Recipe FAQs
Can I use different types of cookie dough?
Absolutely! You can use any type of chocolate chip cookie dough you prefer, or even an alternative like oatmeal cookie dough for a hearty twist. Just ensure that the dough is chilled for the best texture.
How can I adjust the sweetness?
If you find that your caramelitas are too sweet, consider reducing the amount of chocolate or opting for dark chocolate chips instead. You can also add a pinch of sea salt to balance out the sweetness beautifully.
Is there a gluten-free option?
Yes indeed! Simply substitute the store-bought cookie dough with a gluten-free chocolate chip cookie dough. You can also make your own gluten-free dough using a mix of gluten-free flour and your favorite chocolate chip recipe.
How should I store leftover Carmelitas?
Carmelitas should be stored in an airtight container in a cool, dry place. If you’re not eating them right away, refrigeration is best. Just remember to let them sit out for a few minutes for the best texture before serving again.
PrintMore Desserts & Appetizers Recipes
- Red White and Blue Cheesecake Salad | Patriotic No-Bake Dessert for the 4th of July
- Cottage Cheese Ice Cream
- Homemade Funfetti Cake
- Healthy Blueberry Cobbler (Gluten Free, Paleo Dairy Free)
- Blackberry Lemon Poppy Seed Loaf
Did You Enjoy Making This Recipe? Please rate this recipe with ⭐⭐⭐⭐⭐ or leave a comment.
📖 Recipe Card
Carmelitas
- Prep Time: 5 minutes
- Cook Time: 35-40 minutes
- Total Time: 0 hours
- Yield: 16 servings 1x
- Category: Desserts & Appetizers
- Method: Baking
- Cuisine: American
Description
These Carmelitas are a delightful treat with layers of chocolate chip cookie dough, luscious caramel, and semi-sweet chocolate chips. This easy recipe makes for a perfect crowd-pleaser at parties or a sweet reward after dinner.
Ingredients
- 30 ounces chocolate chip cookie dough refrigerated, store-bought dough, or homemade
- 11 ounces caramels
- ¼ cup evaporated milk
- 1 cup semi-sweet chocolate chips
Instructions
- Preheat your oven to 350°F.
- Slice a little more than half of the cookie dough into 1/4" rounds and arrange them in a single layer on a parchment-lined 9-inch square baking pan.
- Use your fingers to press the dough into a solid and even layer.
- Bake for 20 to 25 minutes or until golden brown. Remove from the oven and let it cool slightly.
- In a microwave-safe container, combine unwrapped caramels and evaporated milk. Heat on high for 1 minute, then stir. Continue to heat in 30-second intervals until the caramel is fully melted.
- Sprinkle chocolate chips over the slightly cooled cookie crust.
- Drizzle the melted caramel over the chocolate chips.
- Crumble the remaining cookie dough over the top of the caramel, although it doesn’t need to be perfect.
- Return the baking pan to the oven and bake for another 12-15 minutes until just beginning to turn golden brown.
- Allow to cool to room temperature, then refrigerate for at least 2 hours.
- Let sit out for 15 minutes before cutting and serving.
Notes
To make slicing easier, let them cool completely before cutting.
Store leftovers in an airtight container to maintain freshness.
Feel free to add nuts or other mix-ins for a personalized touch.
Nutrition
- Serving Size: 1 piece
- Calories: 210
- Sugar: 18g
- Sodium: 150mg
- Fat: 10g
- Saturated Fat: 5g
- Unsaturated Fat: 3g
- Trans Fat: 0g
- Carbohydrates: 30g
- Fiber: 1g
- Protein: 2g
- Cholesterol: 25mg